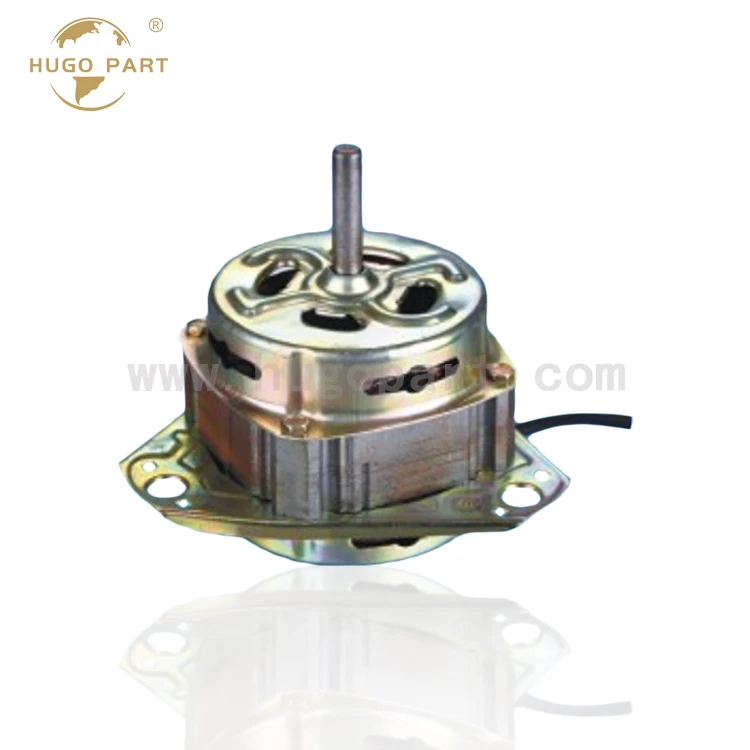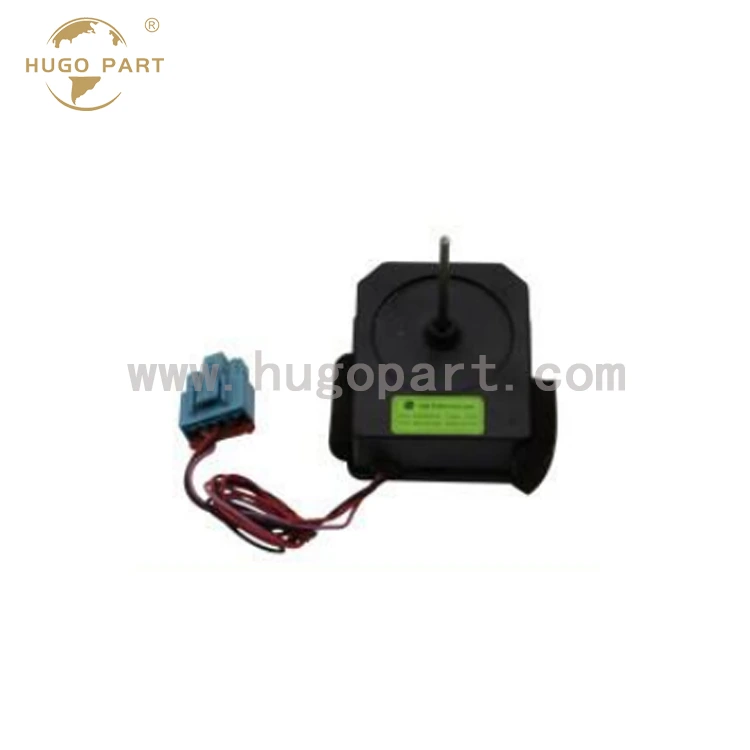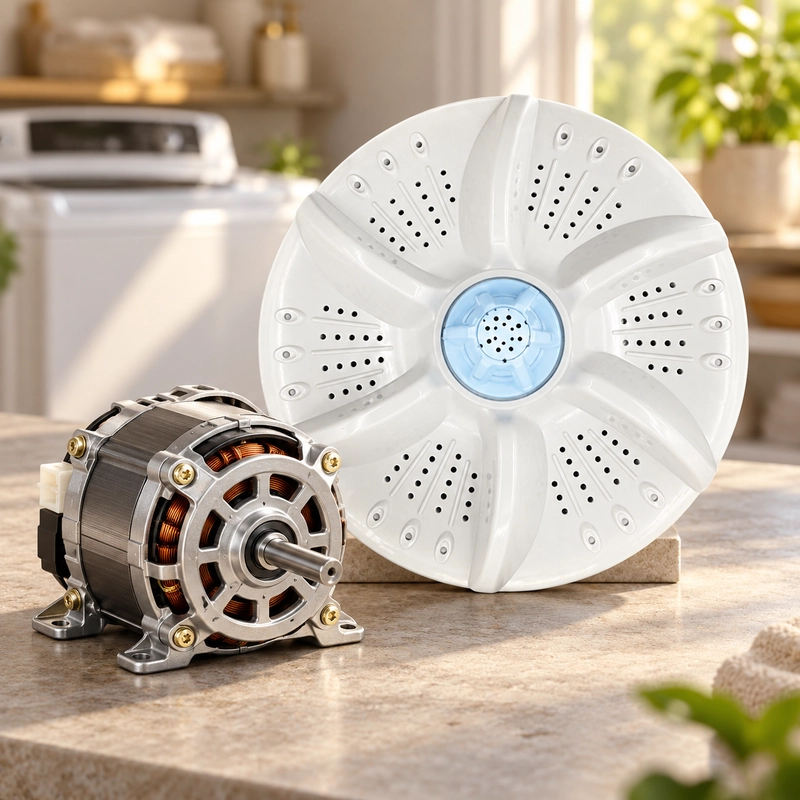
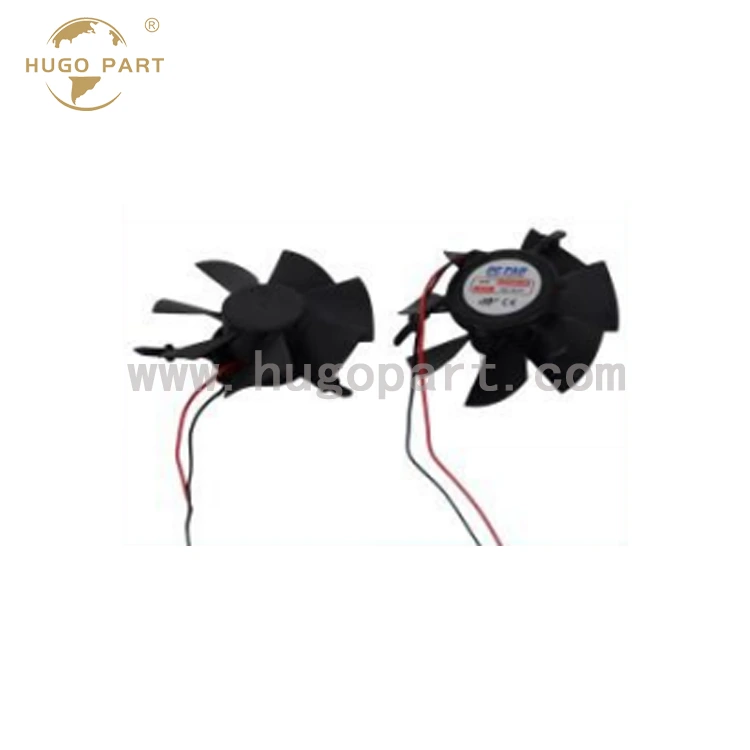
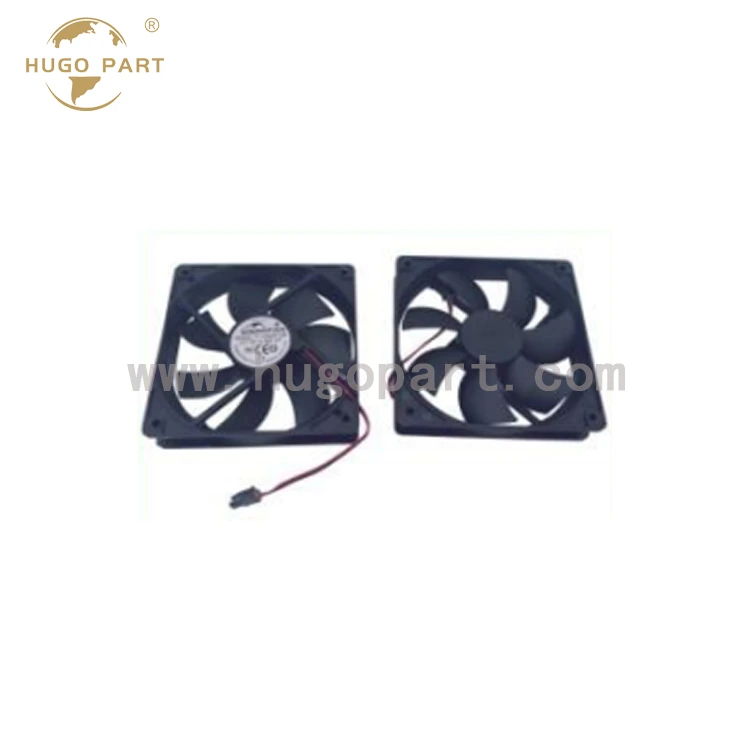
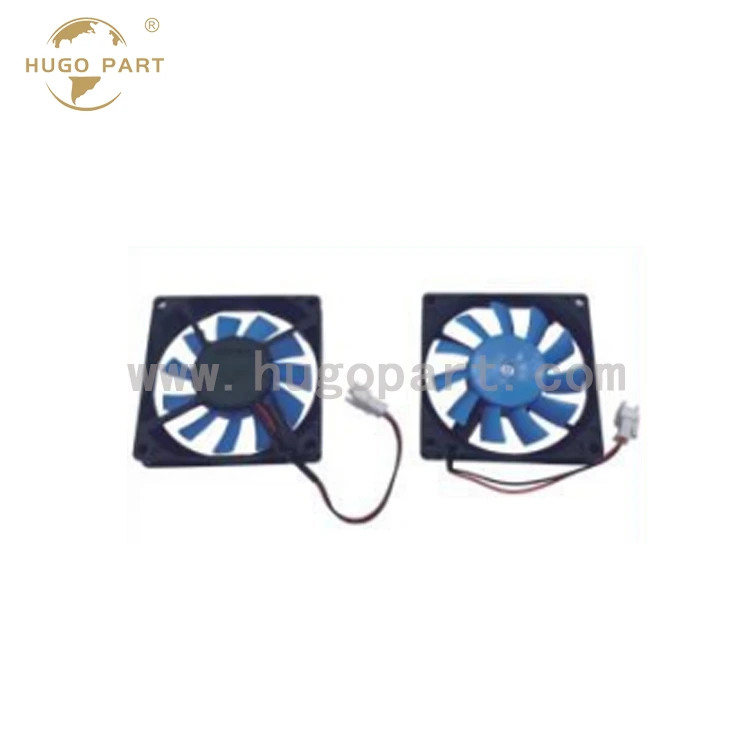
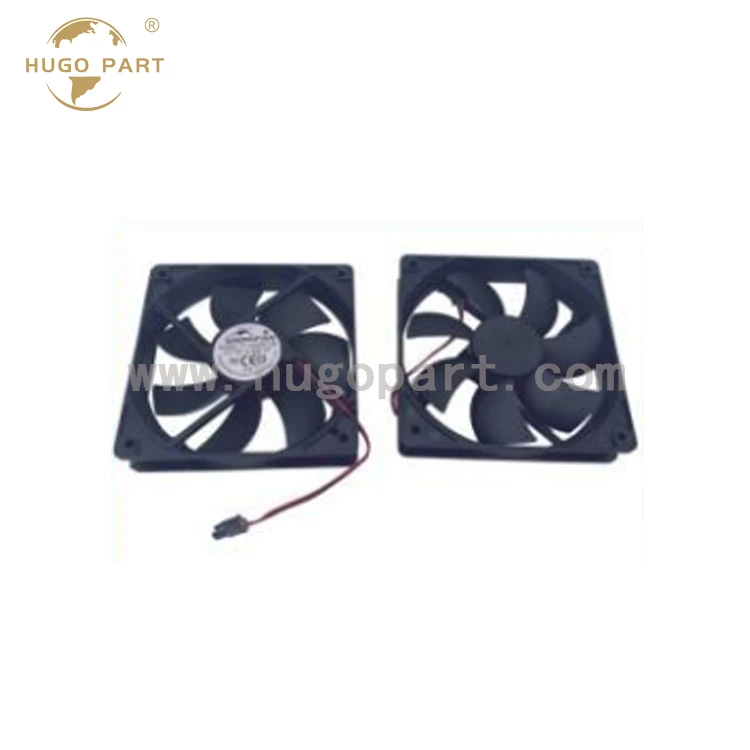
Hugo 2-Wire Refrigerator Motor is designed for repair shops and appliance distributors that need a reliable, no-complication fan motor for daily refrigerator service. The two-lead connection makes installation straightforward: connect the wires to the original power supply, and the motor starts immediately — no capacitor, no control board, no guesswork. This simplicity is exactly what makes it a favorite among technicians who want a quick, dependable fix without tracing extra circuits. The motor body is built for the tough conditions inside a refrigerator: pure-copper windings handle continuous operation without overheating, low-noise bearings keep it quiet even after long running hours, and the anti-icing seals protect the internal parts from condensation and frost.
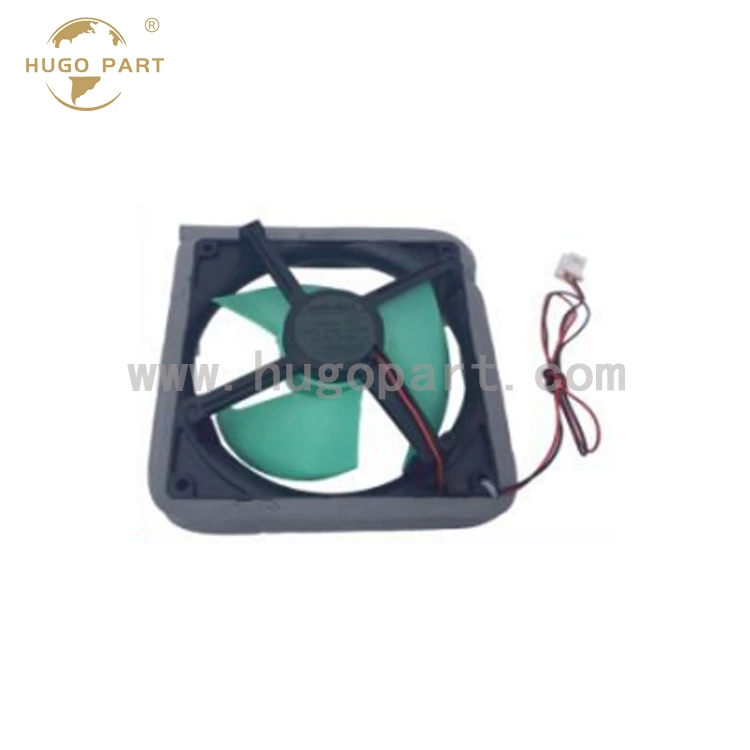
No need for capacitors, no need to change wires. Once the fire is turned on and the neutral is connected, the repairman does not need to check the circuit diagram, the whole machine factory does not need to prepare extra materials, and the probability of installation errors is also low.
The refrigerator fan is powered on all year round, and the aluminum wire motor heats up and breaks after prolonged use. Hugo uses pure copper windings, with low temperature rise, stable conductivity, and no wire burning during long-term operation, resulting in a longer lifespan.
The rotor is dynamically balanced and equipped with low-noise oil or ball bearings, ensuring smooth operation and low noise. The refrigerator does not hum at night, and commercial display cabinets do not disturb customers.
The end cap joints are glued or fully sealed, and the bearings are pre coated with low-temperature lubricating grease, which does not get stuck, damp, or rust in a -30 ℃ freezer environment.
The pole structure of the hood is reliable in starting and stable in speed. The fan blades are matched with the air duct design, and the cold air is blown evenly. The evaporator does not form thick ice locally, and the heat dissipation of the condenser can also keep up.
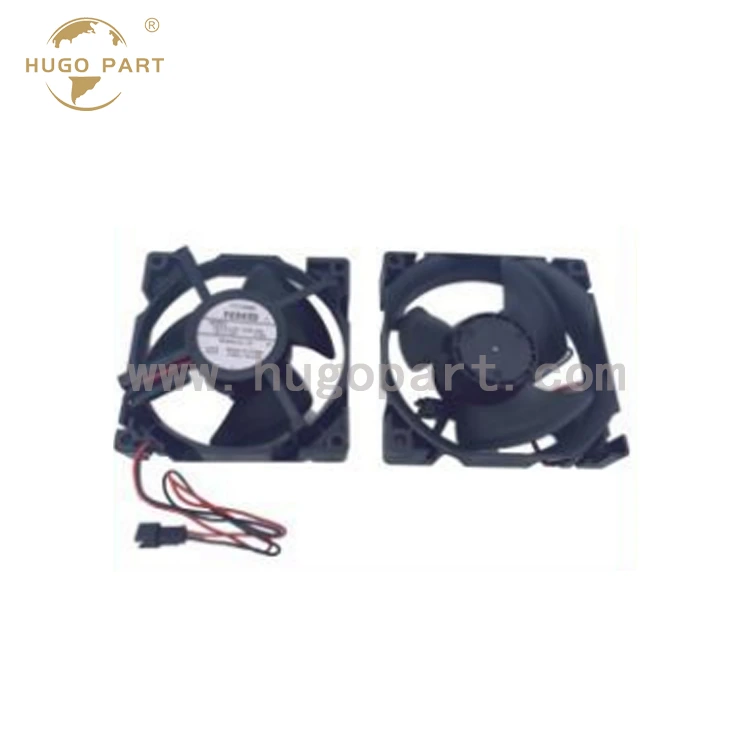
| Product name | 2-Wire Refrigerator Motor |
| Available specification | 2-Wire |
| Available colors | Customization is available upon request |
| Samples available | Small quantity samples can be provided; specific details are negotiable |
| MOQ (Minimum Order Quantity) | Negotiable |
| Warranty time | Generally 1 year, except for special cases |
| Packing method | Carton packaging; specific details are negotiable |
| Place of origin | Ningbo, China |
Incorrect practice: Directly unplugging or disconnecting the plug without power can easily cause electric shock and may also short-circuit and burn the control board.
Correct method: Before disassembling, unplug the refrigerator power and wait for the fan to completely stop before operating. Take a photo of the wiring position before disconnecting, and connect it as it is when reinstalling.
Wrong approach: Install it based on its appearance, connect the 220V motor to 110V, slow speed and low air volume; Connect the 110V motor to 220V and directly burn the winding.
Correct method: Before replacing the parts, check the voltage on the old motor nameplate (110V/220V), and the new motor must be consistent. If you're not sure, send the nameplate photo to Hugo customer service for confirmation.
Wrong approach: The fan blades are not pressed in place, installed eccentrically, or turned upside down, resulting in loud noise, low air volume, and thick frost on the evaporator.
Correct method: Install the fan blades in place, align the D-axis with the plane, and manually turn one circle after installation to confirm that the shell is not scratched; Before powering on, confirm that the rotation direction of the fan blades is consistent with the direction of the air duct.
Wrong approach: Using a hammer to forcefully tap the motor shaft and insert the fan blades, causing the bearings to become pre tensioned and deformed, resulting in increased noise and shortened lifespan.
Correct method: Use a press fitting tool or press the fan blade evenly by hand, and do not directly tap the shaft end. After installation, gently shake the fan blades to confirm that there is no looseness or eccentricity.
Wrong practice: The wiring harness is pulled straight without any allowance, and prolonged pulling and pulling can cause internal disconnection; The outgoing line is attached to the high-temperature area of the condenser, and the insulation layer is aging and peeling.
Correct method: Leave appropriate allowance for the wiring harness and secure it, avoiding high temperature areas and door compression positions. After installation, check if the wiring harness is tight and if it is attached to the heating components.
Wrong approach: Only replacing the motor without cleaning the dust accumulation in the air duct, not checking if the freezer is too full, installing a new motor still results in low air volume and frosting.
Correct method: When replacing the motor, clean the dust accumulation on the fan blades and air ducts, remind the user to leave space for convection in the freezer, and do not block the air outlet and return air outlet.
Incorrect practice: After installation, simply cover the panel without confirming whether the motor is rotating normally or if there is any abnormal noise.
Correct method: After powering on, confirm that the fan blades are rotating normally, without any abnormal noise, and without scraping the shell. After running for a few minutes, touch the shell and feel that the temperature is normal before stopping work. Immediately shut down and troubleshoot any abnormalities.
How to wire the two wires of the Wire Refrigerator Motor? Are there positive and negative poles?
Two wires are one fire and one zero: one is connected to the live wire of the power supply, and the other is connected to the neutral wire. There is no distinction between positive and negative poles, and there is no need to divide the direction. Once connected, it will turn. But the wire ends should be firmly connected and insulated to avoid false connections, sparking or short circuits. If the original plug is a dedicated interface, simply plug it in without cutting the wire.
Can 2-wire motors and 3-wire motors be interchanged?
Cannot be changed directly. There is only one set of windings inside the 2-wire motor, and it runs at full speed when powered on; Three wire motors are mostly dual speed or equipped with starting/running winding switching, with an extra wire responsible for speed regulation or starting, and the connection method is completely different. Hard replacement may result in non rotation, incorrect speed, or burnt windings. Before replacing the parts, count the number of original machine wires and carefully observe the wiring method of the original machine.
Check four items: rated voltage (110V/220V/12V/24V), power and speed, shaft type (D-shaft/circular shaft/threaded shaft) and shaft length, installation hole position and outlet direction. Send the old motor nameplate photo, shaft end photo (with a ruler next to it), and refrigerator model to Hugo customer service to quickly confirm the compatible model.
Check in order: whether the power supply voltage is normal and whether the plug is securely plugged in; Is the voltage type selected incorrectly (110V components connected to 220V will burn, and 220V components connected to 110V will not have enough rotational speed); Whether the fan blades or rotors are stuck, and whether the bearings are dry; Is the winding open. A 2-wire motor does not have a starting capacitor, so there is no need to check the capacitor, which is more convenient than a multi wire motor.
Most of them are not power issues. First, check if the fan blades are installed backwards, if there is too much dust accumulation, and if they are deformed; Check again whether the air duct is blocked by goods or ice, and whether the air outlet and return outlet are blocked; Finally, confirm whether the low voltage is causing insufficient speed. After excluding these factors, the speed is still significantly low, and then consider the motor itself.
Address
Dongshantou Industrial Park, Guanhaiwei Town, Cixi City, Ningbo Province, Zhejiang Province, China