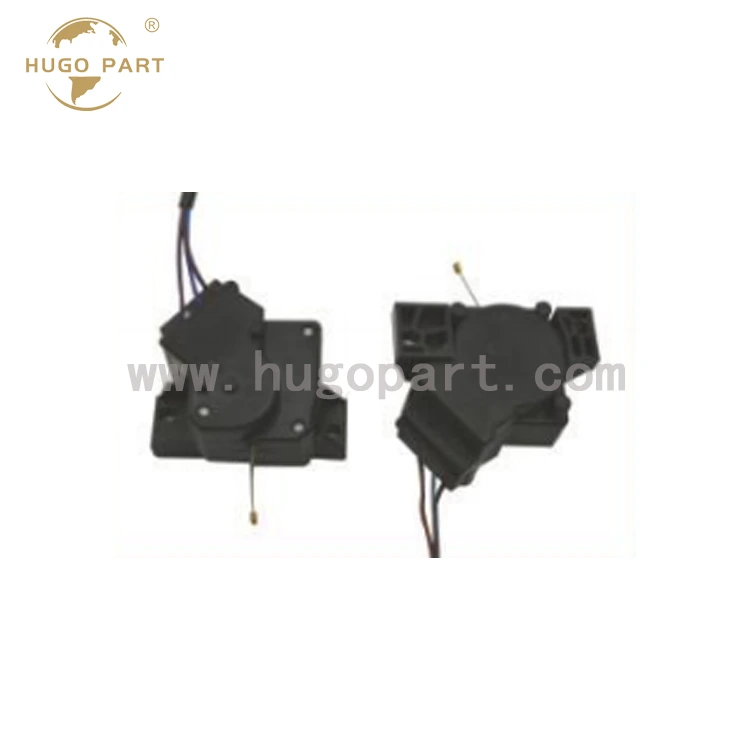
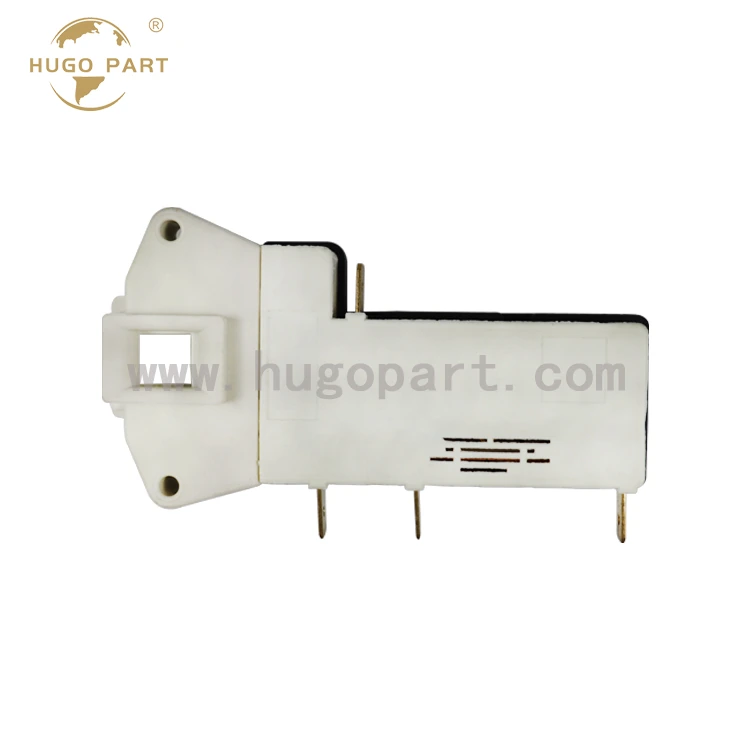
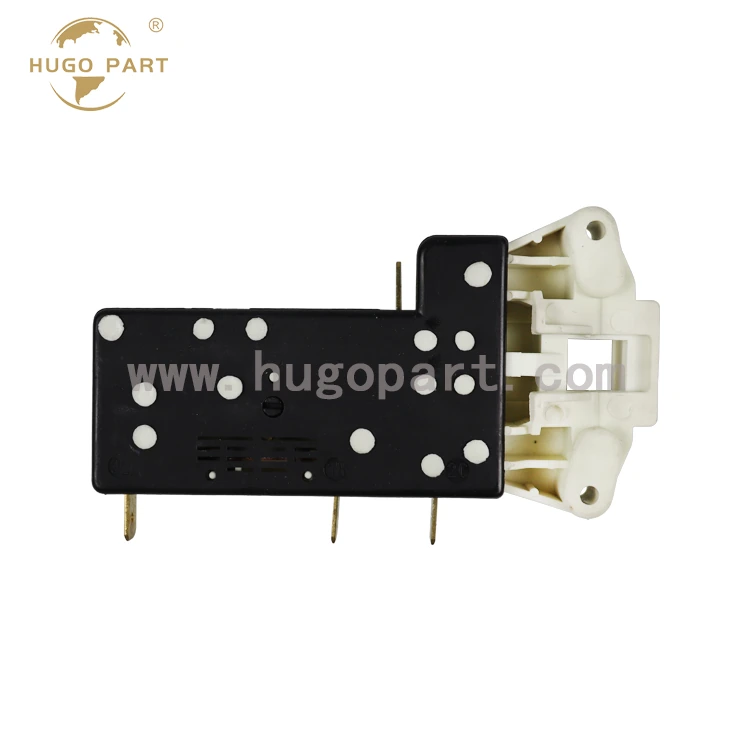
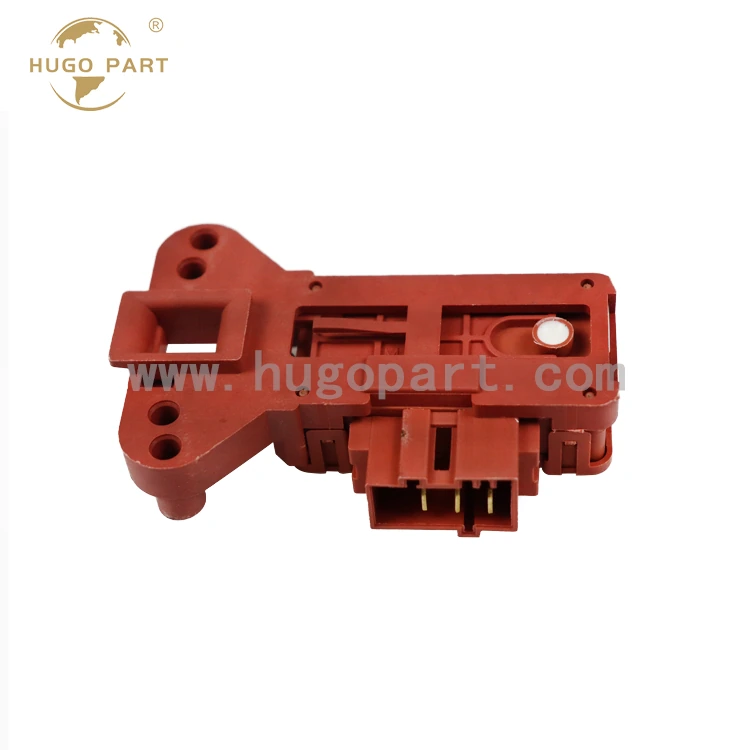
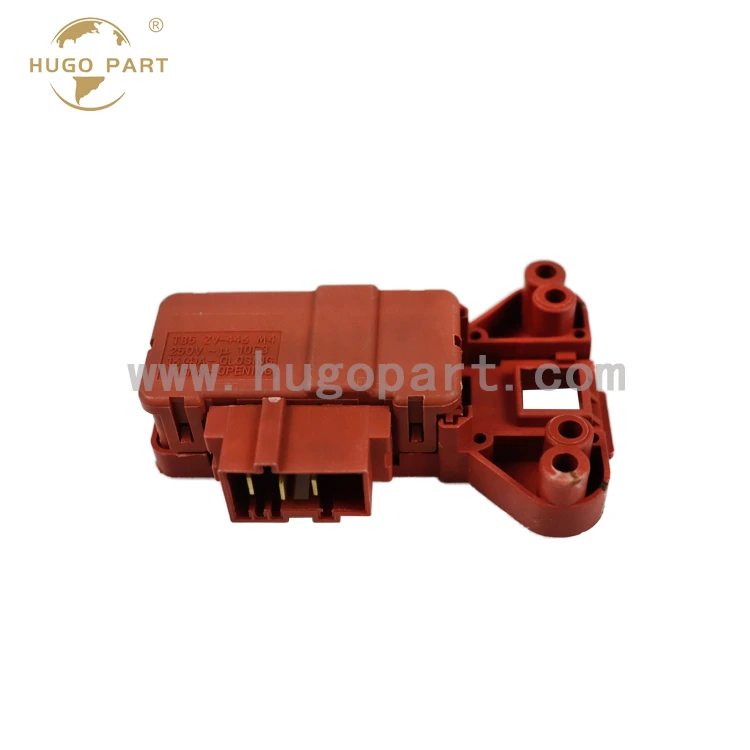
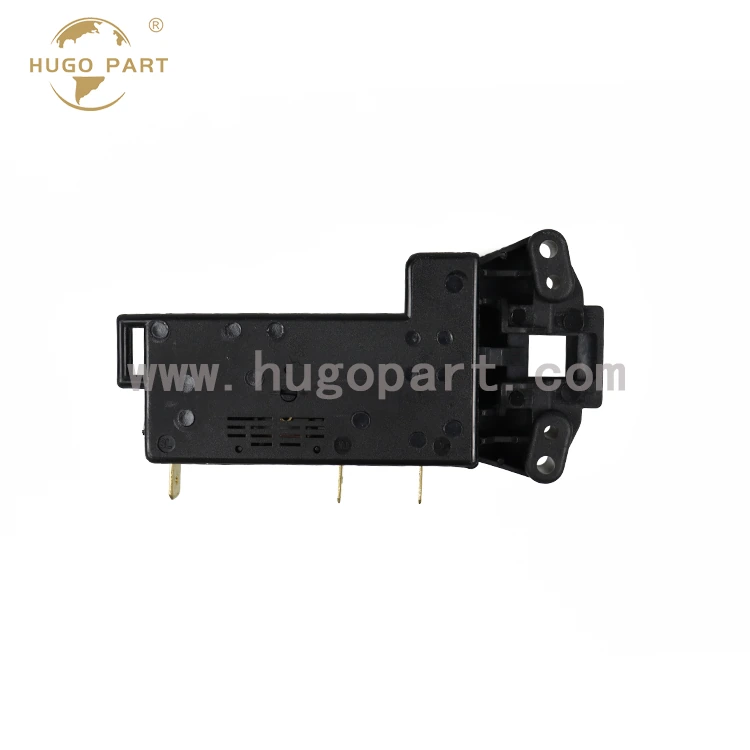
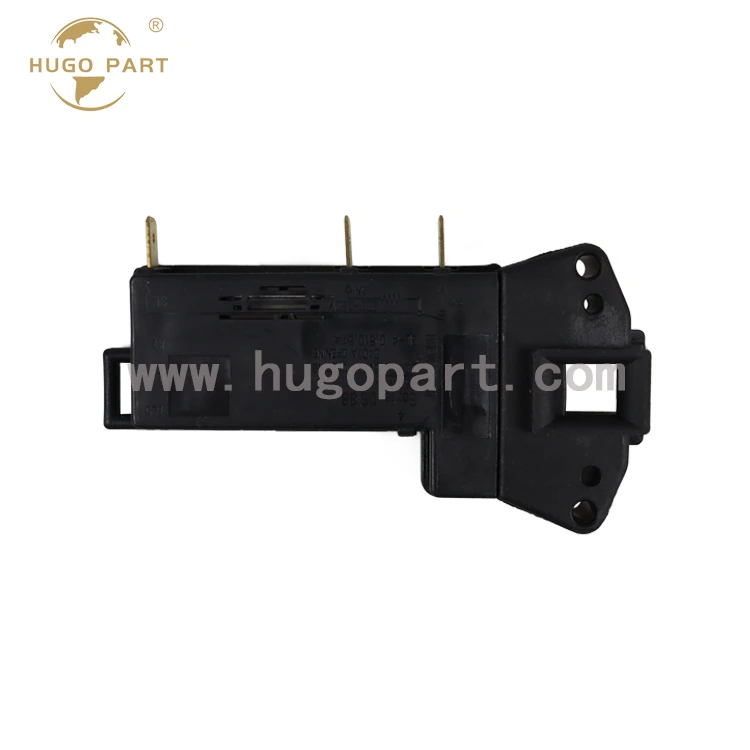
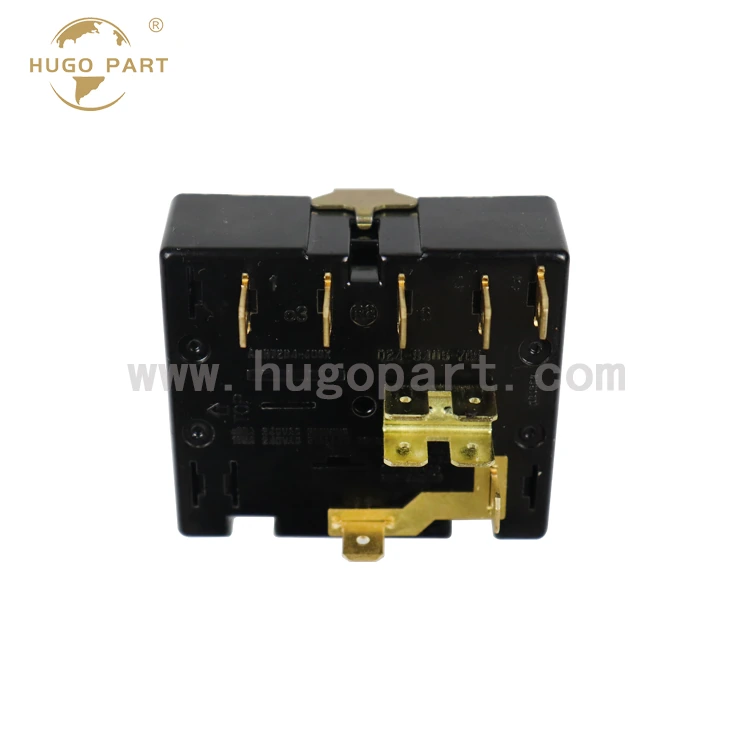
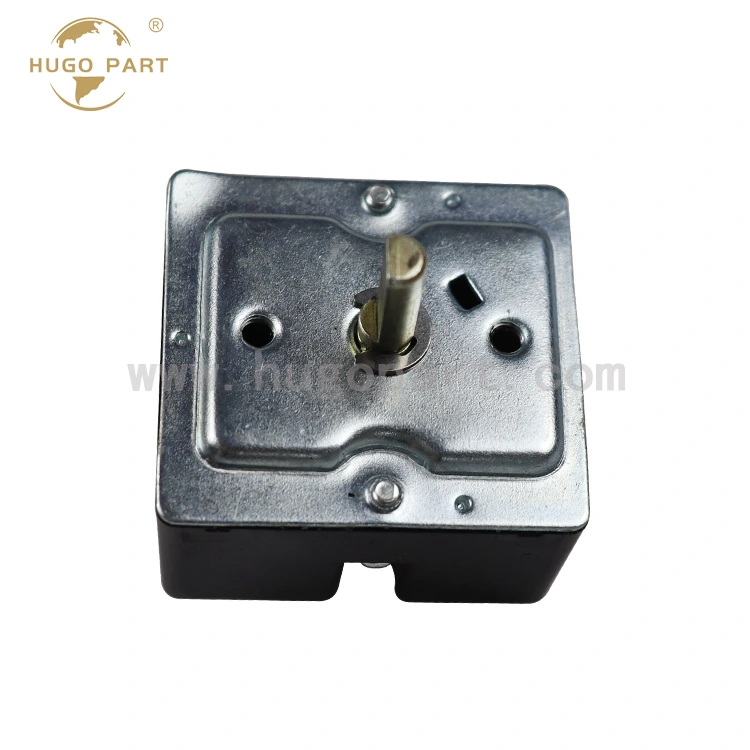
Hugo 3-Insert Washing Machine Door Lock is widely used in front-load and top-load washing machines as a safety interlock switch installed on the door frame. It is specifically designed to keep the door locked throughout the wash and spin cycle, cut off power to the motor the moment the door is opened, and release only when the cycle ends or the water level drops to a safe point. There is a heat-resistant plastic housing on the lock, combined with a metal latch striker and micro-switch contacts, so that vibration resistance, moisture protection, and long-term locking reliability can be guaranteed. The biggest feature of this door lock is its triple-terminal wiring and stable micro-switch action, ensuring safe door control, preventing accidental opening during high-speed spin.
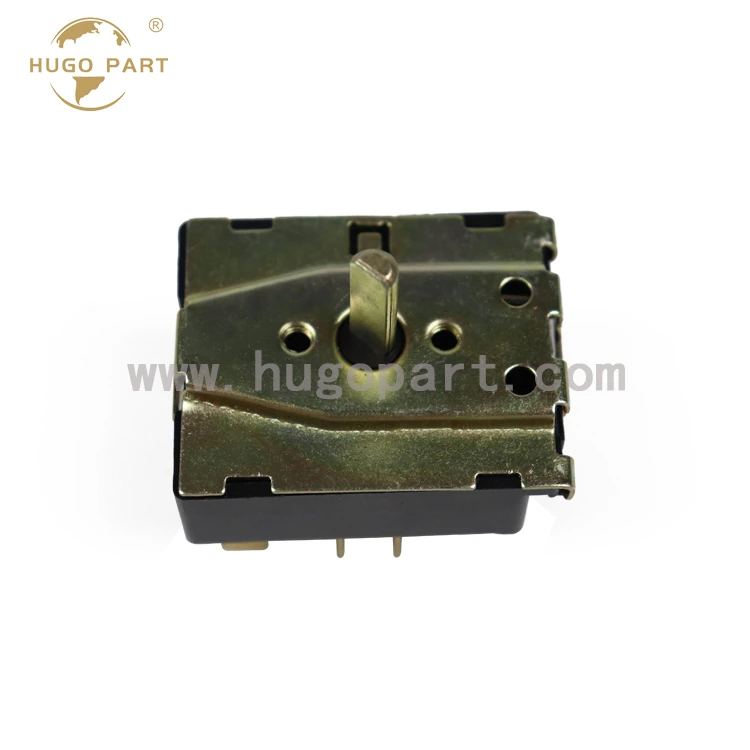
The door lock is not closed properly, and the machine cannot start; During the washing and dehydration process, if the door is opened, immediately cut off the motor power and stop the machine to prevent injury caused by accidentally opening the door during high-speed operation. Unlock only after the program ends or the water level drops to the safety line, with complete safety logic.
The three plug terminals of live wire, neutral wire, and signal wire correspond one-to-one with the original machine plug, and can be directly plugged in without changing the wire or welding. The repairman can simply remove old parts and insert new ones to shorten the maintenance time.
The metal lock tongue is resistant to repeated locking impacts and is not easily deformed. The contact of the micro switch is stable, and long-term use does not result in loose connections or misoperation, avoiding repeated repairs such as "lock failure" and "unlock failure".
The 3-Insert Washing Machine Door Lock shell is made of heat-resistant and flame-retardant engineering plastic, which does not soften or crack when exposed to damp and vibrating environments in the door frame for a long time; The internal contacts have good sealing, moisture and oxidation resistance, and stable resistance.
Check the locking action, on/off status, and secure terminals of each batch of door locks. Response within 48 hours after confirming quality issues with photos or videos.
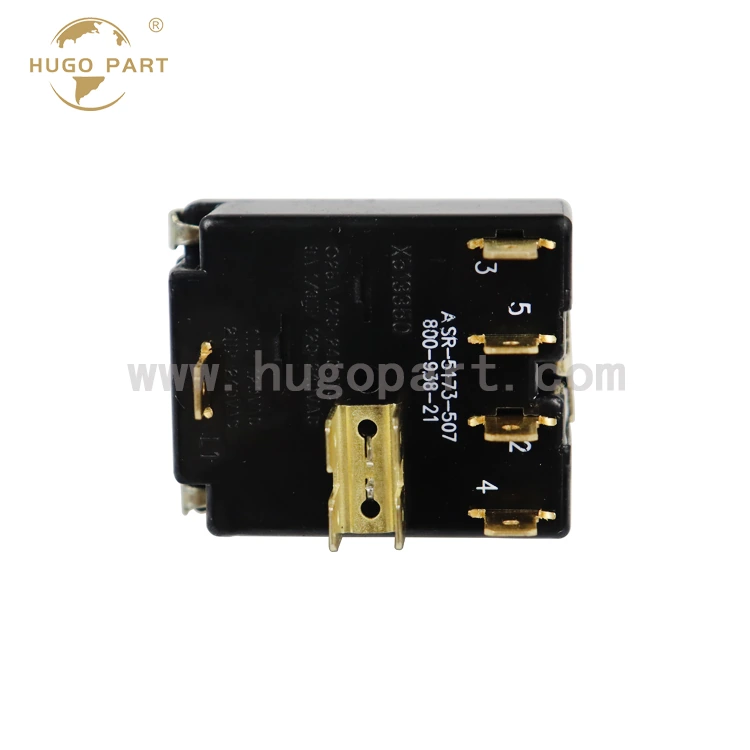
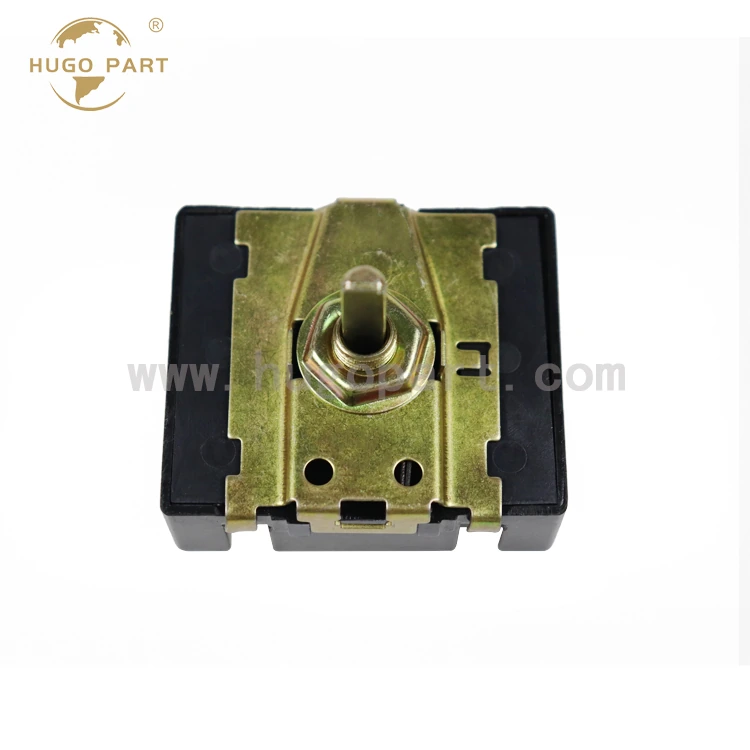
| Product name | 3-Insert Washing Machine Door Lock |
| Available specification | 3 inserts and other styles |
| Available colors | Customization is available upon request |
| Samples available | Small quantity samples can be provided; specific details are negotiable |
| MOQ (Minimum Order Quantity) | Negotiable |
| Warranty time | Generally 1 year, except for special cases |
| Packing method | Carton packaging; specific details are negotiable |
| Place of origin | Ningbo, China |
The door lock is the safety switch of the washing machine. Incorrect installation, connection, or prying can cause it to fail to start, unlock, and even pose a risk of being electrified. The following are the most common errors and correct practices in maintenance sites.
Incorrect practice: Plug and unplug the door lock terminals while powered on, or use a multimeter to measure the contacts when powered on.
Correct method: Before replacing, be sure to unplug the power plug and wait for the control board capacitor to discharge (about 1-2 minutes) before operating. Live plugging and unplugging can easily cause ignition and may burn the control board or terminals.
Incorrect practice: Simply plug in the plug without confirming the positions of the live, neutral, and signal wires.
Correct method: Insert according to the original terminal positions one by one, or confirm with the original lock terminal markings/circuit diagram. Reverse insertion may cause the door lock to fail or the control board to misjudge, and in severe cases, short circuit. After plugging in, gently pull to confirm that the lock is in place and avoid virtual connection.
Incorrect practice: The lock body is installed askew, and the screws are tightened on one side first, resulting in the lock tongue and door hook not aligning.
Correct method: First align the lock tongue and door hook naturally, and then tighten the screws symmetrically. After installation, manually close the door, listen for a clear locking sound, ensure that the door is not loose or stuck, and then power on for testing.
Wrong approach: Only replace the door lock, the old door hook is worn and deformed, and continue to be used.
Correct method: Wear and tear on the door hook can cause the lock tongue to fail to lock and lock properly. When replacing the door lock, check the door hook synchronously. If there is obvious wear, it should be replaced together to ensure the locking accuracy.
Incorrect practice: When the door cannot be opened, forcefully pull it open or use tools to pry open the door gap.
Correct method: Turn off the power and wait for 2-3 minutes (some models have delayed unlocking), and confirm that the water level in the bucket has been emptied. When it still cannot be opened, check the power supply of the door lock, control board signal, or use an emergency unlocking rope (some models have it inside the filter cover). Hard prying can damage the door hook, door seal, and lock body.
Incorrect practice: If the machine does not start or reports a door lock fault code, simply replace the lock with a new one.
Correct method: First check if the door is closed properly, if the door hook is deformed, if the terminals are loose, if the wiring harness is damaged, and if there is an output signal from the control board. Use a multimeter to measure the on/off status of the lock body, confirm that the lock body itself is malfunctioning, and then replace it to avoid accidental replacement.
Wrong approach: Replace the lock harness and hang it in the air, near moving parts or door hinges.
Correct method: Fix the wiring harness along the original path with buckles, away from door hinges and moving parts, to prevent long-term opening and closing friction, skin breakage, and short circuits.
Wrong approach: Install without checking the number of inserts, lock tongue travel, and installation hole positions when the appearance is similar.
Correct method: Verify that the number and arrangement of inserts, lock tongue travel, installation hole spacing, and voltage specifications are consistent with the original machine. Inconsistent specifications can lead to improper locking or unrecognized control board. It is better to confirm again than to rework due to incorrect installation.
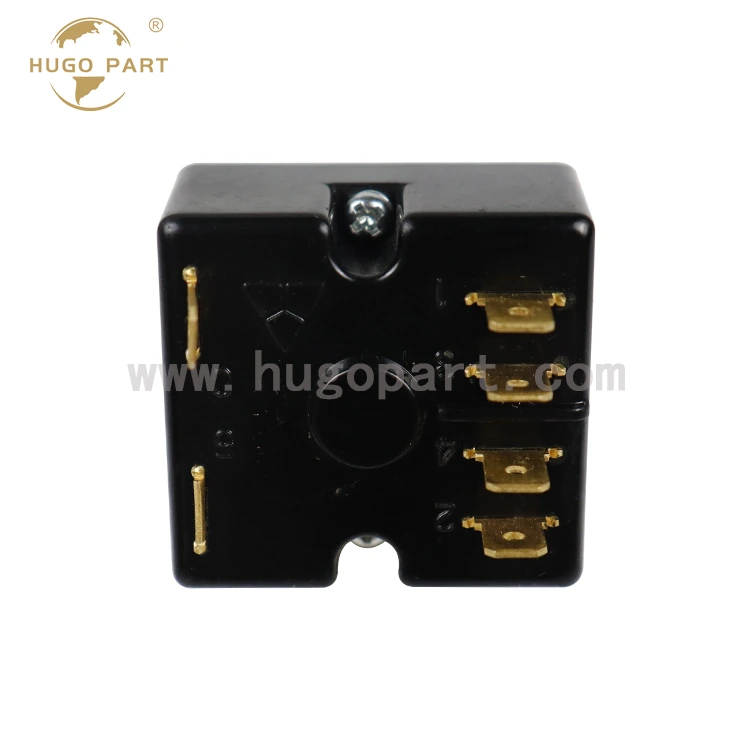
Common manifestations of door lock failure: the washing machine does not enter water or operate after being started; The door is closed but the panel prompts "door not closed properly" or reports a door lock fault code; After washing, the door cannot be opened and it takes a long time to unlock; The door lock does not lock and the machine automatically shuts down during dehydration. If the above situation occurs, it is recommended to first check whether the door is closed in place, whether the door hook is deformed, and whether the terminal is loose. Then use a multimeter to measure the on/off of the lock body, confirm that the lock body is faulty, and replace it.
The three plugs correspond to the live wire, neutral wire, and signal wire (some models use lock body power supply, common terminal, and feedback signal). Reverse insertion may result in the door lock not functioning, the control board misjudging the door status, and in severe cases, causing a short circuit. During installation, insert the locking terminals one by one according to their original positions, or confirm with the circuit diagram. After insertion, gently pull to confirm that the locking buckle is in place to avoid virtual connections.
Turn off the power and wait for 2-3 minutes (some models have delayed unlocking) to confirm that the water level in the bucket has been drained. When it still cannot be opened, check if the door lock is powered on and if the control board has an unlock signal output. Some models are equipped with an emergency unlock pull rope inside the filter cover. Do not forcefully pry open the door gap, as it may damage the door hook, door seal, and lock body.
Address
Dongshantou Industrial Park, Guanhaiwei Town, Cixi City, Ningbo Province, Zhejiang Province, China